
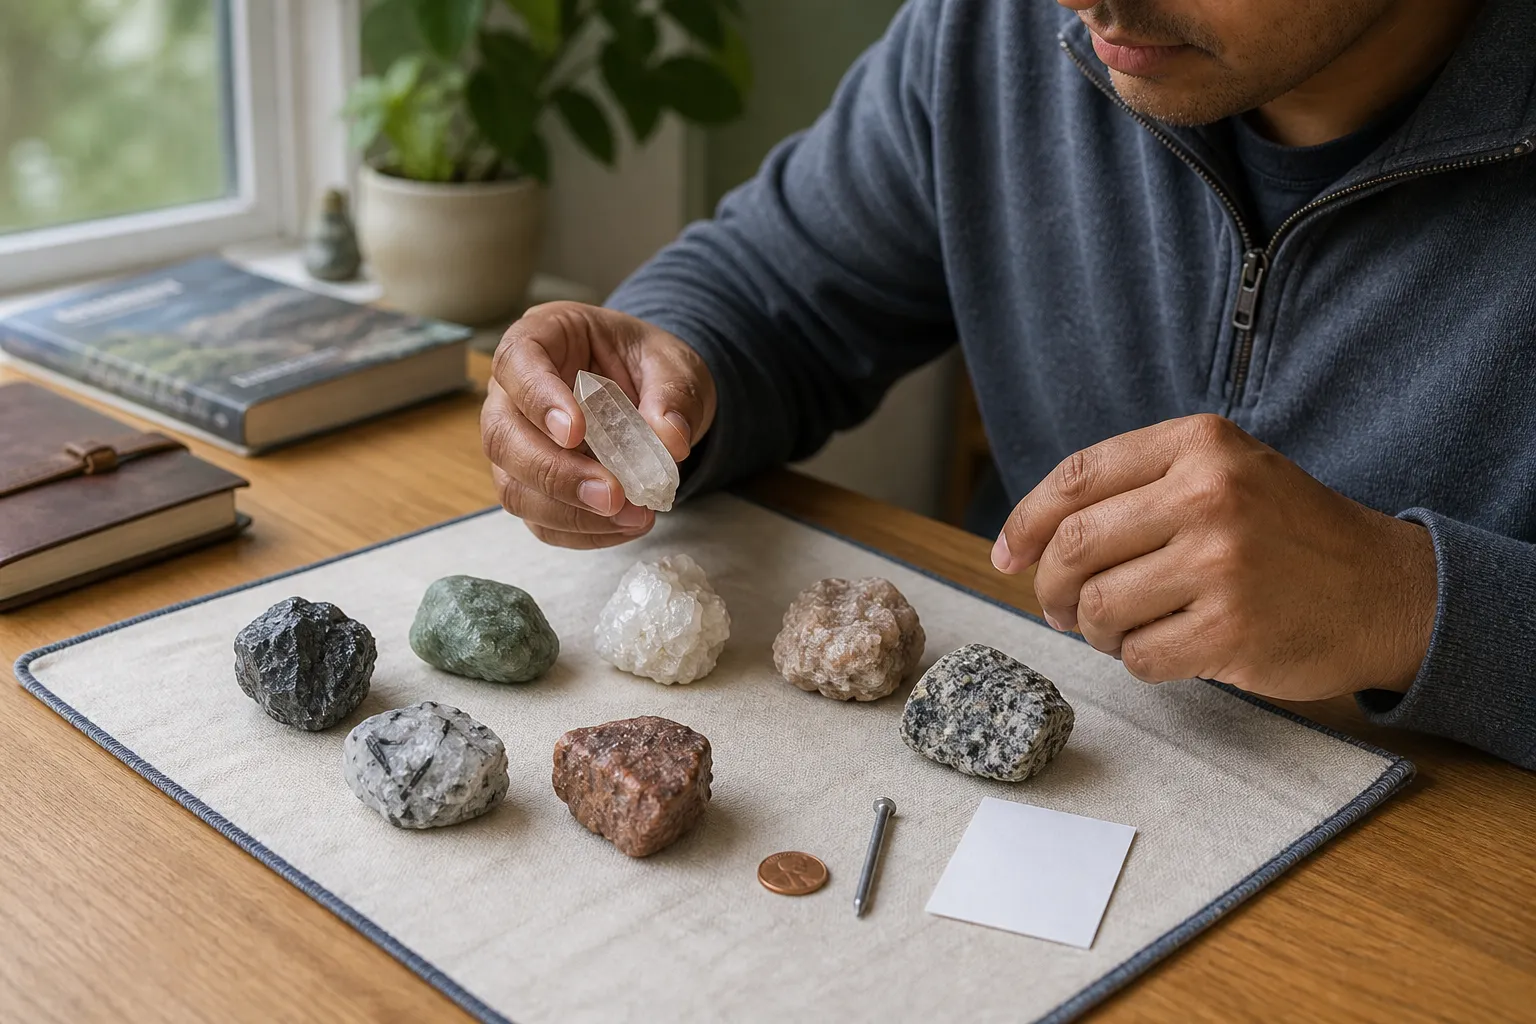
Mineral hardness answers one narrow question: how well does a surface resist being scratched? It does not tell you whether a specimen will survive a fall, resist chipping, or make a durable piece of jewelry. Those are questions about properties such as toughness, cleavage, and wear—not Mohs hardness alone.
Used carefully, a relative-hardness comparison can separate lookalikes that share a color and luster. Calcite and quartz may both be pale and glassy, for example, but quartz is much harder. Used carelessly, the same test can scar a valued specimen, produce misleading marks, or release material you should not handle.
Start with the principle, not the tool: one known surface is compared with another, and the result creates a bracket, not an automatic identification.
What the Mohs numbers mean
Friedrich Mohs organized ten reference minerals from softest to hardest. A higher reference mineral scratches a lower one. The National Park Service and U.S. Geological Survey use this familiar sequence:
| Mohs number | Reference mineral |
|---|---|
| 1 | Talc |
| 2 | Gypsum |
| 3 | Calcite |
| 4 | Fluorite |
| 5 | Apatite |
| 6 | Orthoclase feldspar |
| 7 | Quartz |
| 8 | Topaz |
| 9 | Corundum |
| 10 | Diamond |
The numbers express an order, not equal steps. A 10 is not simply twice as scratch-resistant as a 5, and the jump from one number to the next is not constant. For field identification, the useful statement is relational: “this surface scratches calcite but is scratched by fluorite,” so its hardness lies roughly between 3 and 4.
Mineral references may also list ranges such as 6–6.5. Natural variation, crystal direction, weathering, and the way a test is performed can soften the apparent precision. Record what happened rather than forcing every result to a whole number.
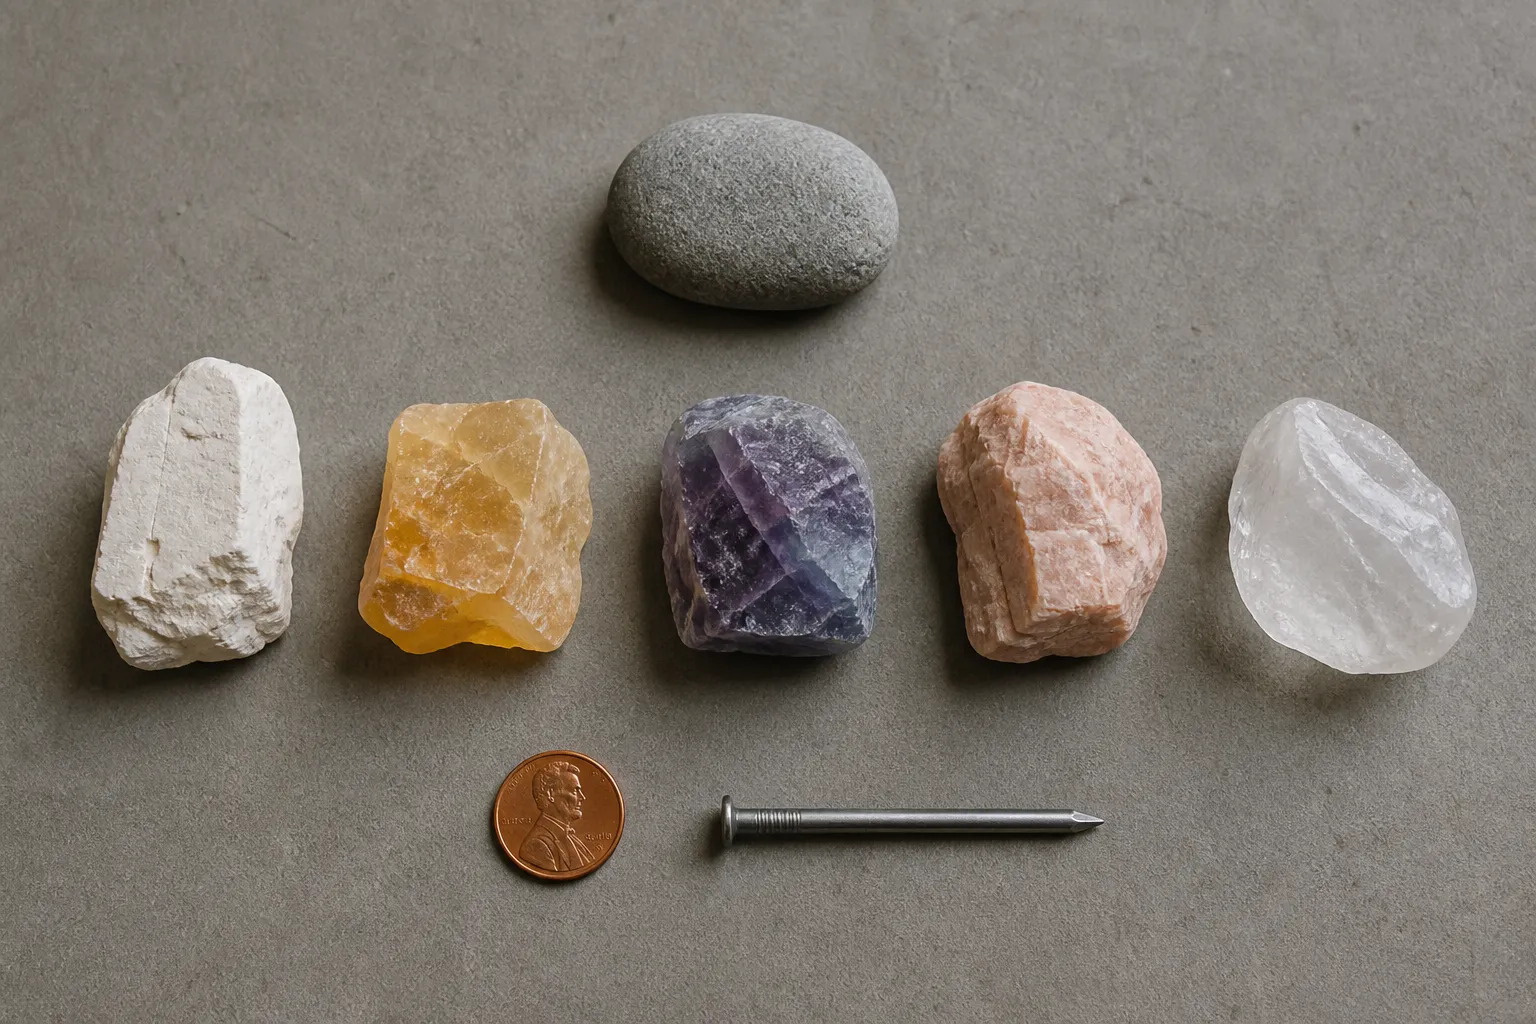
A teaching set can help bracket an unknown against known references. Color is not part of the hardness sequence.
Hardness is not toughness
This distinction prevents a common and expensive mistake. Hardness describes resistance to a scratch. Toughness describes resistance to breaking, chipping, or deforming. A hard mineral can still split readily along cleavage planes or chip when struck.
Do not drop, tap, bend, or strike a specimen to “confirm” a hardness result. Do not assume that a high Mohs number makes a thin crystal point safe from damage. If your real question is whether a stone can withstand jewelry wear, tumbling, cleaning, or outdoor exposure, hardness is only one part of the answer.
Decide whether testing is appropriate
The safest scratch test is the one you skip when the specimen is not expendable or the material is uncertain.
Do not test:
- a cut, polished, mounted, valuable, borrowed, historic, or sentimental specimen;
- a fossil, artifact, meteorite candidate, or specimen with possible scientific significance;
- a surface with a delicate coating, iridescence, patina, or crystal points;
- anything powdery, fibrous, crumbly, strongly encrusted, or associated with mine waste; or
- a mixed rock when you cannot isolate the grain you intend to compare.
Scratching creates a mark and may loosen a tiny amount of material. Unknown dust is not useful evidence. Never grind, drill, sand, deliberately break, or blow debris from a specimen. If safety or value is uncertain, stop with visual observations and ask a geologist, mineral club, museum, or qualified laboratory.
For an ordinary, known-safe, common duplicate, choose a small inconspicuous spot rather than a display face. An inexpensive mineral reference set is more consistent than household objects and makes the direction of the comparison easier to track.
A careful comparison, step by step
1. Describe the surface first
Use a hand lens. Note whether the test area is weathered, coated, made of visible grains, or different from the rest of the specimen. Hardness belongs to the material under the point, not automatically to the entire rock.
If you have not already done so, compare the specimen’s luster, texture, form, and existing breakage. Our guide to six clues that matter more than color shows why hardness works best as one part of a larger pattern.
2. Begin near the likely range
Do not march through every reference. Use your visual shortlist to choose a reasonable starting pair. For a pale glassy candidate that might be calcite or quartz, for example, known calcite and quartz references can be more informative than a random steel object.
3. Use light, controlled contact
Support both pieces on a stable work surface, keep fingers away from the contact point, and make one short pass with light pressure. If the result requires force, stop. A hardness comparison should not become gouging, crushing, or a test of hand strength.
Try the relationship in both directions on inconspicuous areas when it is safe: can A scratch B, and can B scratch A? A harder reference should cut a fine groove in a softer surface; the softer one should not do the same to the harder surface.
4. Separate a groove from a streak
A steel nail, knife, or coin may leave some of itself on a harder mineral. That gray or metallic-looking deposit can resemble a scratch. Examine the mark under good light with a hand lens. A transferred mark sits on the surface; a true scratch is a physical groove.
On a known-safe specimen, a gentle wipe with a soft cloth may remove transferred metal. Do not scrub, brush, or blow loose material, and do not keep increasing pressure to make an uncertain line look convincing.
5. Build a bracket and repeat once
Suppose an unknown scratches calcite at 3 but does not scratch fluorite at 4, while fluorite does scratch the unknown. Record the result as roughly 3–4. Repeat on a second comparable spot only if that will not cause meaningful damage.
One successful mark is not a mineral name. Combine the bracket with luster, texture, crystal form, heft, context, and other safe observations.
Household objects are approximate references
Field charts often place a fingernail near 2.5, a copper reference near 3–3.5, and common steel or glass references around the middle of the scale. These are useful for broad screening, but real objects vary. Modern coins differ in composition and wear; steel nails, knives, and files differ in alloy and heat treatment; glass products are not all identical.
Never use a phone screen, eyeglass lens, countertop, window, heirloom coin, or good knife as test material. A calibrated pick set or labeled mineral references costs less than replacing a damaged object and gives a more interpretable comparison.
Why rocks give messy results
Mohs hardness is most straightforward on a single mineral. Most rocks contain several minerals, so one point may slide across soft mica, hard quartz, and weathered feldspar in the same centimeter. A fine-grained rock may not expose a large enough grain to test separately. A surface rind may be softer than the unweathered interior.
Record that variation. “Some clear grains scratch glass; dark flakes do not” is more honest and more useful than assigning the whole rock a hardness of 7. Do not break the rock to expose a fresh face.
Use the result to revise a shortlist
A photo cannot measure scratch hardness. It can only suggest candidates whose expected properties can be compared with what you observe. That is why a photo identification should begin as a shortlist, not a verdict.
If you safely establish a bracket, StoneScout lets you add a Mohs hardness detail to the identification evidence. Treat that number as a reason to re-rank possible matches. If the top visual candidate conflicts with a careful hardness result, investigate the conflict: you may have tested a coating, a different grain, a transferred metal mark, or the wrong candidate.
Relative hardness is powerful precisely because it is limited. It does not prove composition, origin, treatment, authenticity, or value. It gives you one reproducible clue—and sometimes the wisdom to leave a specimen unmarked is the better observation.