
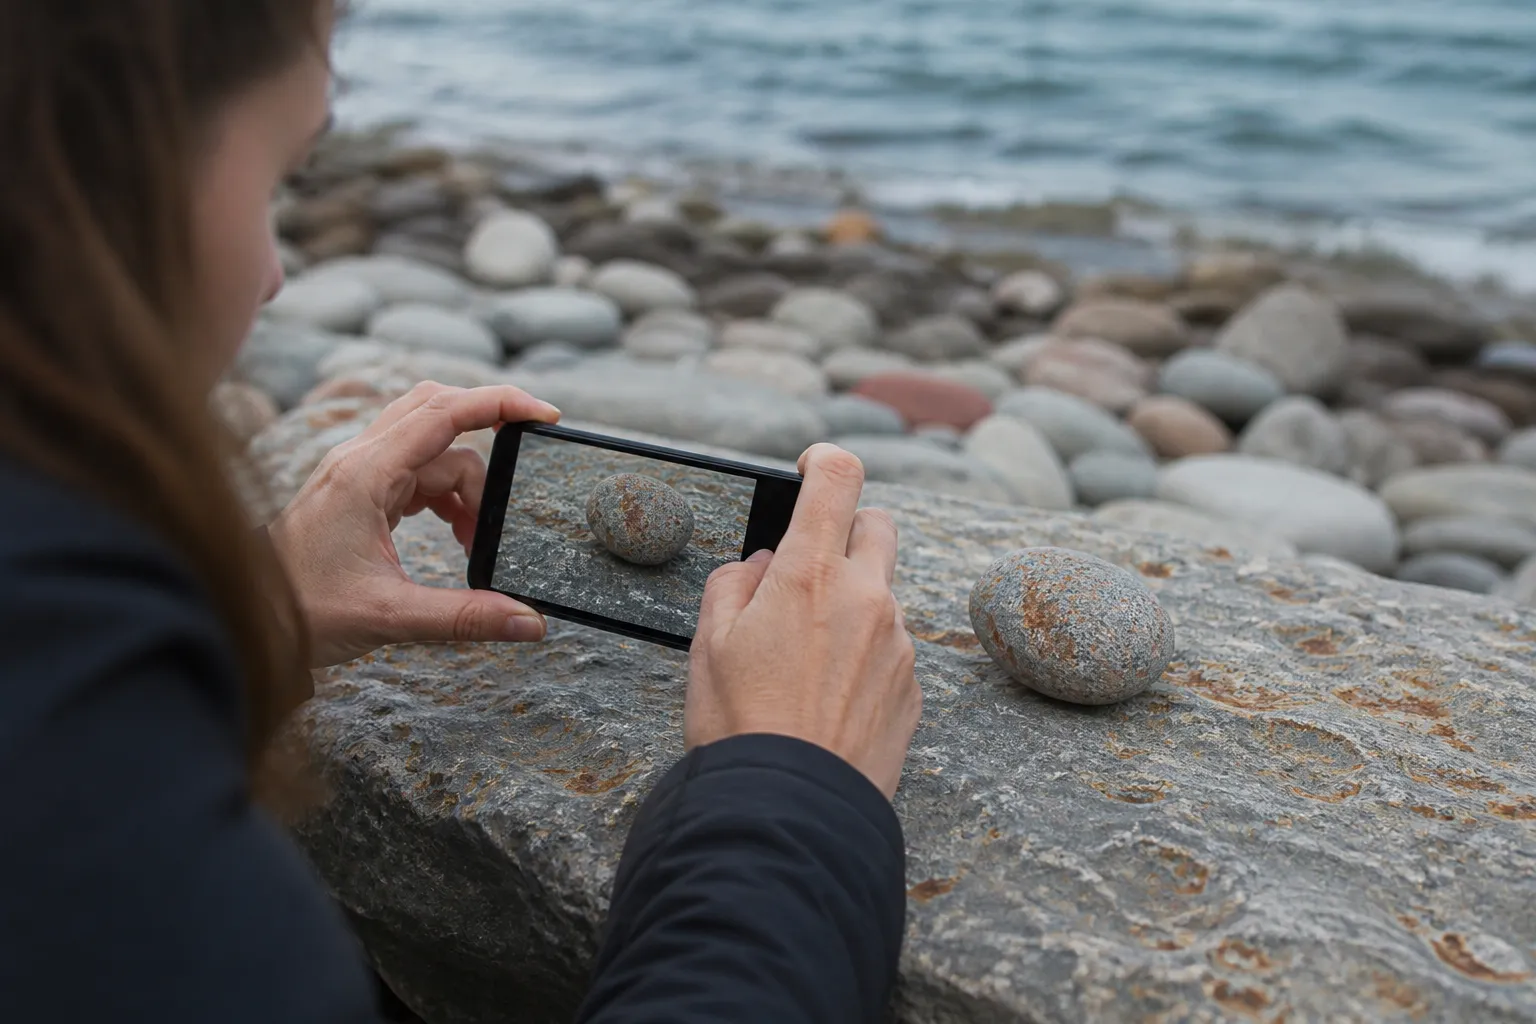
A clear photograph can turn an unfamiliar stone into a useful shortlist. It can show whether the specimen is made of visible grains, whether its surface looks glassy or dull, and whether it has layers, holes, bands, or crystal faces. That is a strong beginning.
It is not the same as an identification.
Many rocks share the same broad appearance, and many minerals occur in several colors. The U.S. Geological Survey notes that color is unreliable for most mineral identification: one mineral may appear in different colors, while unrelated minerals may share a color. A photo also leaves out properties that geologists routinely use, including hardness, streak, and specific gravity.
The practical goal is therefore not “name this from one picture.” It is: collect enough visible evidence to rank plausible candidates, then look for a safe way to separate them.
First decide whether you have a rock, a mineral, or something made by people
A mineral is a naturally occurring solid with an organized internal structure and a characteristic chemical composition or range. A rock is an aggregate: it may contain one mineral, but most rocks contain several. Granite, for example, commonly presents a mixture of visibly different grains rather than one uniform material.
Manufactured materials complicate the picture. Weathered glass, slag, concrete, brick, and ceramic fragments can become rounded and stained outdoors. Bubbles do not automatically mean volcanic rock, and a transparent fragment is not automatically quartz. Include human-made material in the shortlist when the object came from a road cut, fill pile, rail bed, old industrial site, or urban beach.
What a photograph can reveal
Start with features that survive the trip from the specimen to the screen:
- Overall form: rounded pebble, flat slab, angular fragment, crystal cluster, or nodule.
- Grain size and texture: separate coarse grains, sand-sized particles, a smooth fine-grained mass, glassy areas, or holes left by bubbles.
- Luster: the way a surface reflects light. Mineral descriptions use terms such as metallic, glassy, waxy, pearly, earthy, and dull.
- Patterns: bands, spots, layers, veins, repeated crystals, or a weathered outer rind.
- Existing surfaces: flat repeated breaks may suggest cleavage; curved, shell-like breaks may suggest conchoidal fracture. Do not break the specimen to create a fresh surface.
- Field context: a photograph of the ground, shoreline, or outcrop can show whether the find was loose gravel, glacial material, bedrock, landscaping stone, or construction fill.
Photograph all sides. A single attractive face can hide the most diagnostic feature on the reverse.
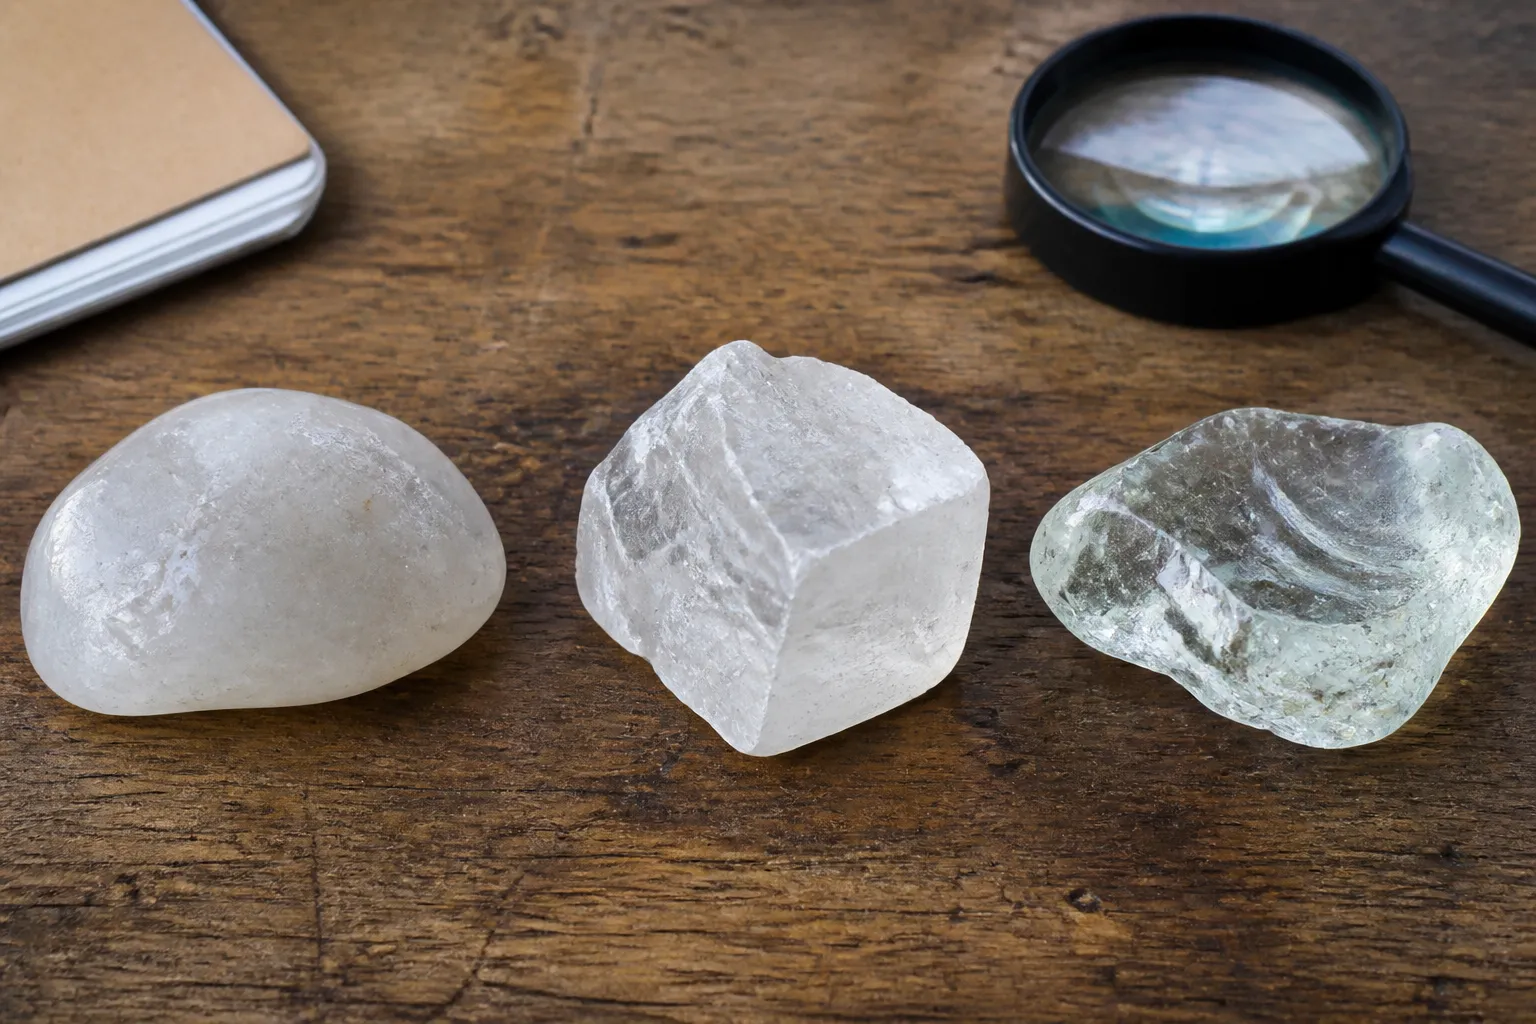
Similar-looking pale materials can include different minerals or weathered glass. Appearance alone does not settle the question.
What a photograph cannot measure
A photograph cannot tell you how readily the specimen scratches, what color powder it leaves on a streak plate, how heavy it feels for its size, or whether a small magnet responds. It may hide internal structures and very fine grains. White balance can shift color; water can deepen it; a polished face can show a different luster from a weathered rind.
There are harder limits too. A picture normally cannot establish chemical composition, prove a geographic origin, distinguish every natural material from a synthetic or treated one, certify a gem, or appraise value. Professional gem identification uses controlled lighting, magnification, and instruments such as refractometers, polariscopes, spectroscopes, and microscopes. Research laboratories may add spectroscopy or X-ray methods.
That gap matters whenever two candidates would lead to different safety, care, or purchasing decisions.
A careful photo-identification workflow
1. Record the find before moving it
If collection is allowed, first take one context photo and note the general setting. Check ownership and site-specific rules; permission on one beach or parcel does not apply to the next. Collecting rocks and minerals is generally prohibited in National Park System units, with limited exceptions.
2. Make a small photo set
Use diffuse daylight, a plain background, and something for scale. Capture the whole object, its opposite side, an edge view, and a close-up of its texture. Keep the specimen dry for the main photos so water does not conceal surface character. A separate damp view can be useful if the rock was naturally wet when found.
3. Describe before naming
Write a one-sentence observation without a guess: “Rounded, palm-sized gray pebble with white coarse grains, black flakes, scattered rust-colored staining, and a dull weathered surface.” Description slows down the urge to lock onto the first familiar name.
4. Build a shortlist, not a verdict
Compare several candidates against every visible feature. A strong candidate should explain the texture, luster, pattern, and context together. Keep alternatives alive when the evidence is shared. StoneScout’s confidence view is designed around this idea: a photo produces ranked possible matches, and the useful next step is comparing alternatives rather than treating the first result as certain.
5. Add one safe observation at a time
Heft, a response to a small magnet, and careful examination with a hand lens can narrow a list without damaging the specimen. Save scratch or streak testing for material that is known to be safe, common, and expendable—and for instructions that explain how to avoid confusing a surface mark with a true scratch.
Never use taste, licking, acid, flame, grinding, drilling, or deliberate breakage as an identification shortcut.
Know when to stop handling it
Leave an unknown specimen undisturbed if it is powdery, unusually crumbly, vividly encrusted, or fibrous. Do not brush, sand, cut, or blow dust from it. Stone dust can contain respirable crystalline silica, and some naturally occurring fibrous minerals are regulated as asbestos when they meet specific mineralogical and dimensional criteria. A photo is safer than creating airborne dust.
Ask a geologist, mineral club, museum, university department, or accredited gemological laboratory when the distinction has financial, legal, historical, or safety consequences. An expert may still begin with your photos, but they can decide which controlled observations or instruments are actually appropriate.
The useful answer is often a narrower question
A responsible result may be “coarse-grained igneous rock, probably granite or a close relative,” not a perfect name. It may be “quartz-like, with calcite and glass still possible.” That is progress: the search has moved from every stone on Earth to a few testable explanations.
Good identification is less like recognizing a face and more like solving a small evidence puzzle. A photo supplies several pieces. The honest skill is noticing which pieces are still missing.
Sources
- Minerals and their physical properties — National Park Service
- USGS mineral and rock education resources
- Gem Identification course requirements — Gemological Institute of America
- Scientific instruments used in gem research — Gemological Institute of America
- Recreational collection of rocks and minerals — National Park Service
- Safe work practices for crystalline silica — CDC/NIOSH