
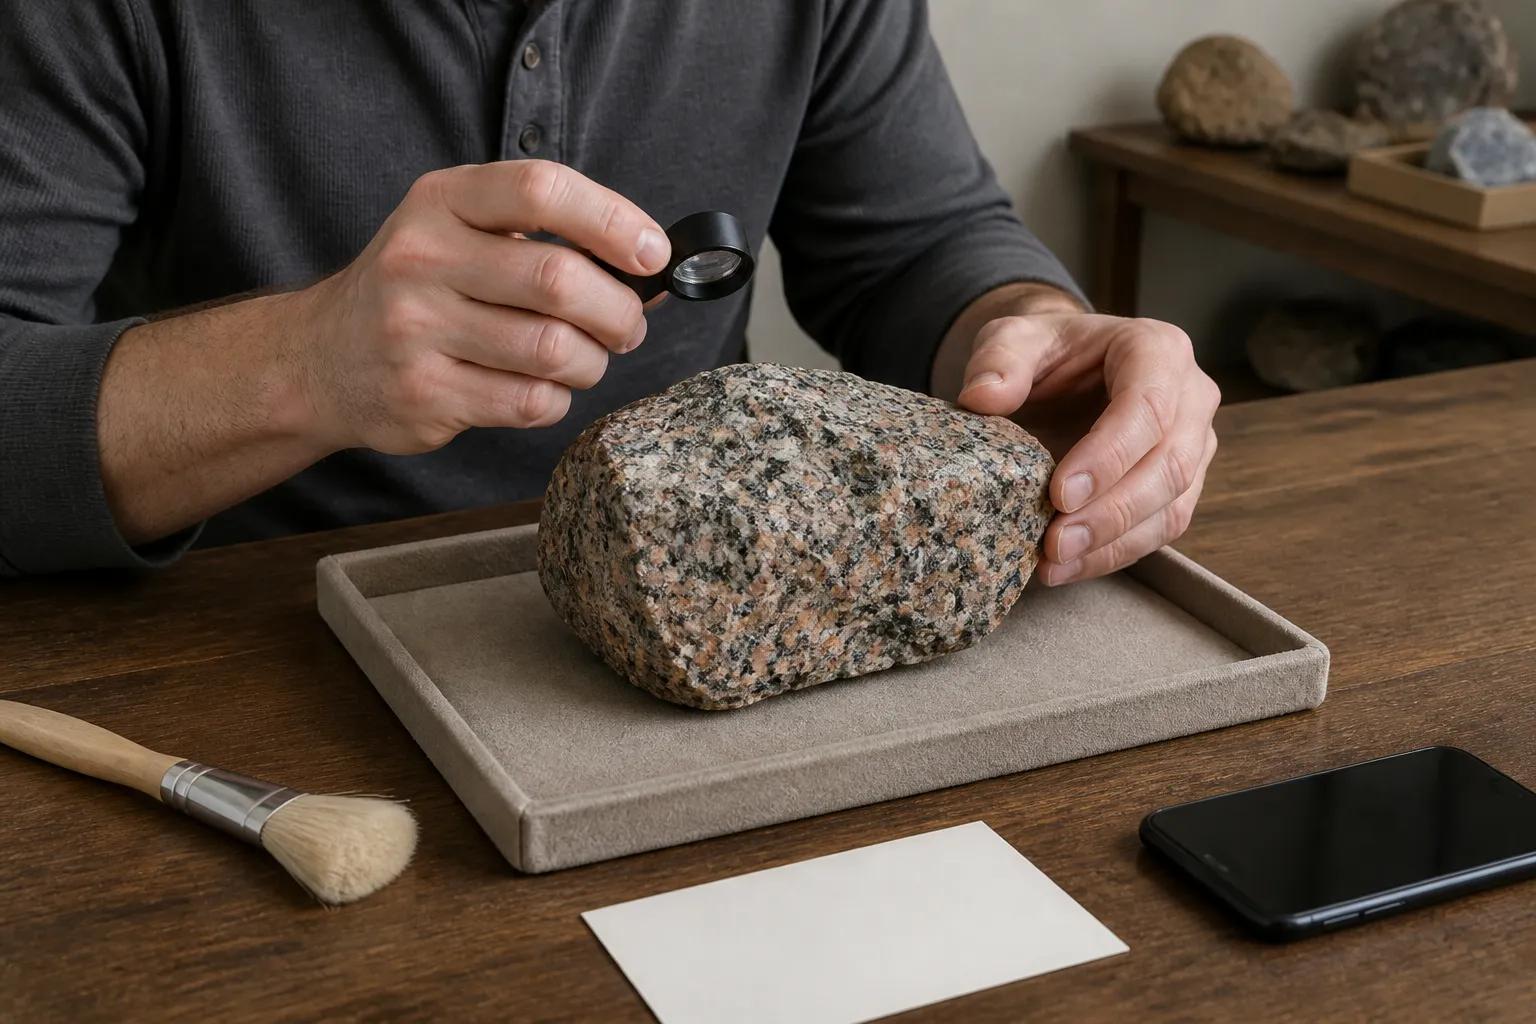
The safest cleaning method for many mineral specimens is no cleaning at all.
That can feel unsatisfying when a new find is muddy or a shelf specimen looks dull. But “clean” is not a neutral condition. A brush can snap tiny crystals. Water can dissolve a mineral, loosen its matrix, spread soluble salts, or accelerate deterioration. Household chemicals can remove a natural coating that was part of the specimen—and part of the evidence used to identify it.
The National Park Service treats geological cleaning as potentially irreversible because it can remove matrix, trace material, or the specimen itself. That museum principle scales well to a home collection: identify the material and the reason for cleaning before choosing a method.
First decide whether the dirt should come off
Loose beach sand on a rounded granite cobble is probably incidental. Iron staining on quartz, a weathered rind on basalt, clay tucked between crystals, or a dark film on an old specimen may be part of its geologic history. A coating can also hide useful clues, but removing it before you understand it destroys the chance to study the original surface.
Before touching the specimen, ask:
- What am I trying to remove: loose dust, soil, an old adhesive, a mineral coating, tarnish, or an unknown residue?
- Is the specimen confidently identified, including its matrix and any secondary minerals?
- Is it solid and massive, or does it have cracks, flaky layers, soft grains, delicate needles, or repaired areas?
- Would a small change matter because it is valuable, borrowed, historic, scientifically important, or sentimental?
- Will cleaning answer a real question, or am I only trying to make it shinier?
If any answer is uncertain, stop at photography and careful storage. A natural-history conservator, geology museum, mineral club specialist, or geologist can help determine whether treatment is appropriate. Cleaning cannot be undone by putting the removed material back.
Photograph and label before you begin
Make a dry, color-accurate photograph of every side before cleaning. Include the specimen number in one frame, then photograph close-ups of the material you intend to remove and any existing chips, cracks, coatings, repairs, or labels.
Keep paper labels and old dealer cards away from the cleaning area. Copy their wording into the catalog, but do not separate them from the specimen’s record. If a cleaning attempt changes the appearance, those photographs establish what changed and when.
Write down the proposed method before you use it. “Soft dry brush only” is a plan. “Try a few things until it looks better” is how one treatment quietly becomes six.
Sort the specimen into one of three paths
Leave it alone
Do not clean an unknown specimen that is fibrous, powdery, crumbly, strongly staining, unusually heavy for its size, or associated with mine waste or industrial material. Some geological specimens contain lead, arsenic, mercury, uranium, asbestos-form minerals, or other hazards. The risk often rises when handling creates dust.
Also leave these for an expert:
- delicate sprays, needles, blades, thin crystal clusters, or loose matrix;
- fossils, meteorite candidates, artifacts, and specimens with scientific context;
- cut, polished, coated, repaired, mounted, borrowed, or high-value pieces;
- new crystal growth, spreading powder, sweating, tarnish that is actively changing, or other signs of deterioration; and
- anything that would require acid, bleach, rust remover, solvent, ultrasonic cleaning, pressure, abrasion, or heat.
Do not blow on an unknown dusty specimen, use compressed air, scrub it, or rinse residue down a household drain. Isolate it from handling, food, children, and pets, and seek material-specific advice.
Dry-clean only
A clean, very soft artist’s brush may be appropriate for loose surface dust on a known-safe, solid, durable specimen with no delicate crystals. Support the specimen low over a clean tray. Test one inconspicuous area with a single light pass and stop if grains, flakes, fibers, crystals, or color come away.
Brush loose material toward the tray, not toward your face. Do not force bristles into crevices or use a wire brush, stiff utility brush, rotary tool, or abrasive pad. Even dry dust can scratch a polished face or carry loose material from one specimen to another, so clean the brush and work surface between specimens.
For a fragile cluster, “only a soft brush” is not automatically gentle. The Natural History Museum describes fine needle-like minerals that can break from a touch. If the brush could catch an edge, the correct path is still leave it alone.
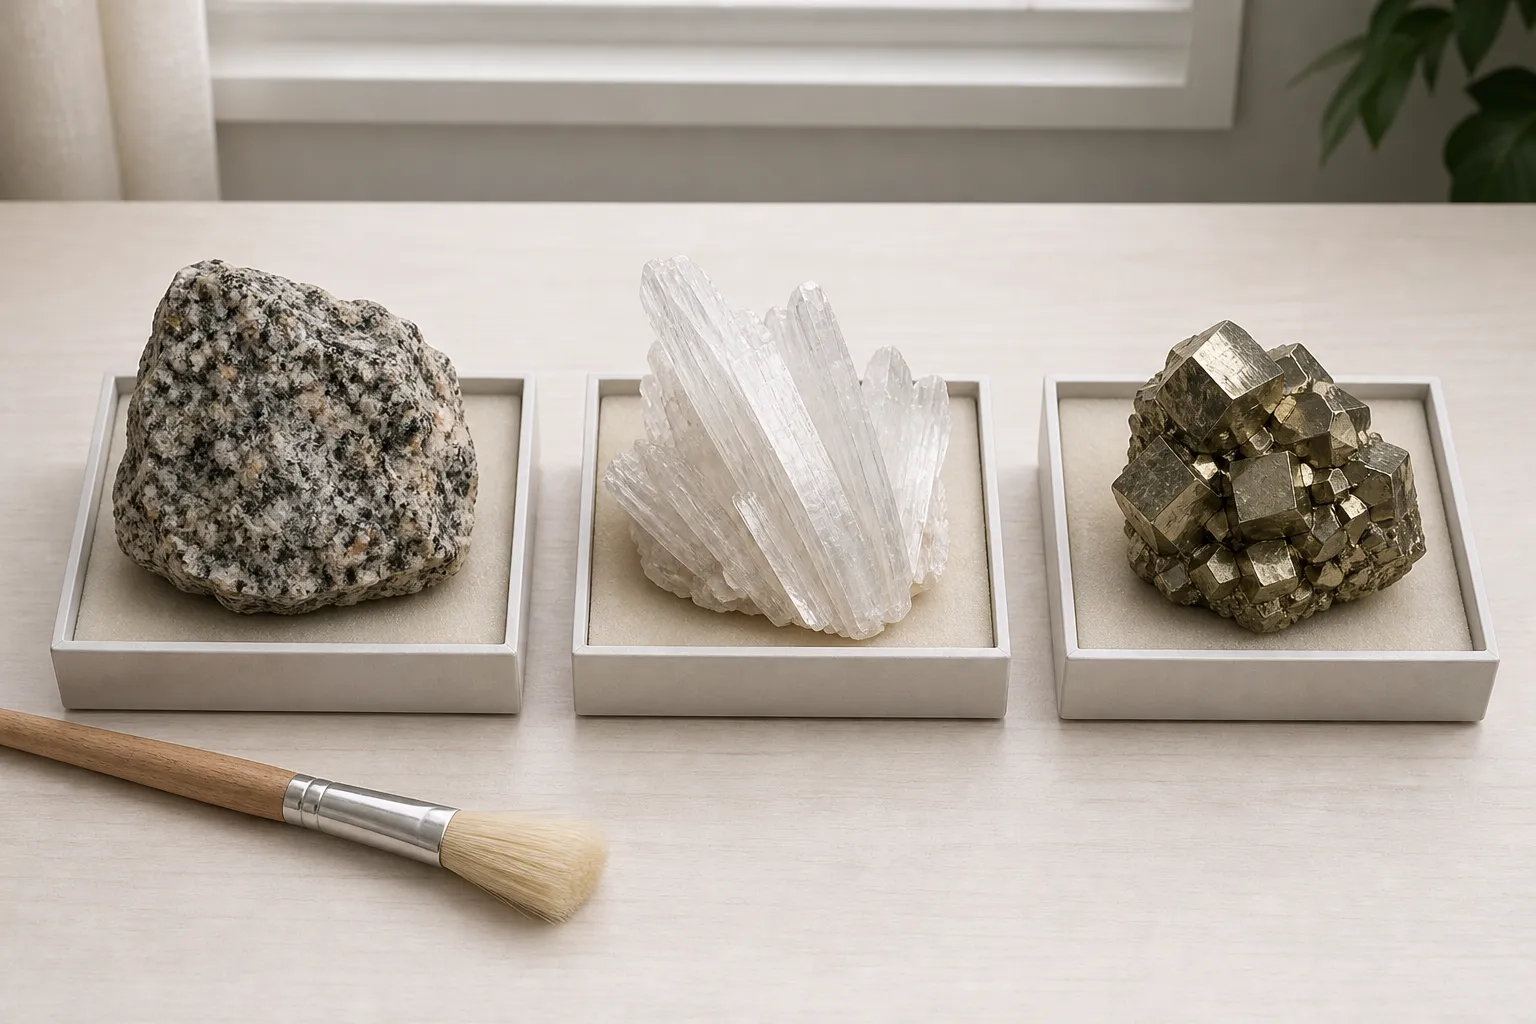
Similar-looking dust does not create similar care needs. A massive, known-safe rock may tolerate light dry cleaning; delicate, soluble, or reactive minerals may not.
Use water only after confirming stability
Water is not the default next step. The NPS specifically warns against using it on halite and gypsum because they are water-soluble. That includes selenite, a crystalline variety of gypsum. Smithsonian emergency guidance also warns that pyrite and marcasite can deteriorate rapidly and form acids after water exposure.
Skip water when a specimen contains an unidentified mineral, soluble salt, metallic sulfide, porous or crumbly matrix, clay-rich material, fragile crystals, an old label, adhesive, filler, coating, polish, or repair. Do not assume that a hard crystal makes the whole specimen water-safe; the crystal, matrix, and secondary coatings can behave differently.
For an ordinary, confidently identified, known-safe, massive rock—such as a stable granite or basalt cobble—a brief water cleaning may be reasonable:
- Photograph the dry specimen and inspect it under good light.
- Put a few drops of room-temperature clean water on a small, inconspicuous area.
- Stop if the water changes color, turns cloudy, produces grains, softens the surface, or reveals a coating that lifts.
- If the test stays stable, use a brief gentle rinse. Loosen only surface soil with fingers or a very soft brush; do not soak or scrub.
- Rinse away loosened soil with clean water, blot with a clean lint-free towel, and allow the specimen to air-dry completely on a stable surface.
- Photograph it again under the same lighting and record the method, date, and any change.
Avoid sudden temperature changes. Do not put a specimen in an oven, on a radiator, in direct hot sun, or under a hair dryer to speed drying. Do not add dish soap, vinegar, bleach, hydrogen peroxide, rust remover, or another chemical unless a qualified professional has recommended a material-specific treatment. A product that is safe for one mineral can etch, stain, oxidize, or lodge in another.
Do not turn tarnish and coatings into a beauty project
Metallic-looking specimens create a particular temptation to polish. Resist it. Polishing is abrasive: it removes surface material. The Canadian Conservation Institute notes that a stable tarnish can be protective and that polishing compounds may remain in recesses or chemically attack a surface.
A pyrite cube is not brass décor. A copper-bearing mineral is not a copper pan. Oils and waxes can darken porous material, trap dirt, change luster, and complicate later conservation. The NPS notes that older geological specimens may already carry problematic shellac, wax, oil, or polymer coatings; adding another layer hides the condition rather than fixing it.
If you suspect a coating or repair, photograph it and add that observation to the catalog. Removal belongs with someone who can identify both the specimen and the treatment.
Record the result as part of the specimen’s history
After the specimen is completely dry, compare it with the before photographs. Look for new cracks, loosened grains, changes in luster, color transfer, staining, or residue. If anything changed unexpectedly, stop and keep the piece separate until you get advice.
Add a short catalog note such as:
2026-08-25 — Removed loose dry soil from one face with a soft artist’s brush. No water or cleaner used. Existing iron-colored coating left in place. Before and after photos attached.
StoneScout’s collection can hold multiple specimen photos, captions, and field notes. Save the before view, the dry after view, and the exact cleaning method so a future change has a baseline. Keep irreplaceable provenance and condition records in an independent catalog too.
If the specimen is still unidentified, photograph it dry after any safe surface-dust removal. A photo can help build a ranked shortlist, but it cannot establish whether an unknown coating is safe to remove or whether water will react with material outside the frame. Use good identification photographs to document what is present, then preserve uncertainty.
The cleanest-looking specimen is not always the best-kept specimen. Good care means retaining the surfaces, context, and record that make the object worth keeping.
Sources
- Curatorial Care of Paleontological and Geological Collections — National Park Service
- Quick Reference Guide: Salvaging Wet Collections Items — Smithsonian National Collections Program
- Minerals: sparkling, sensitive and toxic — Natural History Museum
- Caring for metal objects — Canadian Conservation Institute
- Safe work practices for crystalline silica — CDC/NIOSH